With the electrical rough-in date approaching I needed to get the doors and windows installed to make the structure weather-proof. The builder scheduled a day for his crew to come on-site and do the installation.
Building window and door bucks
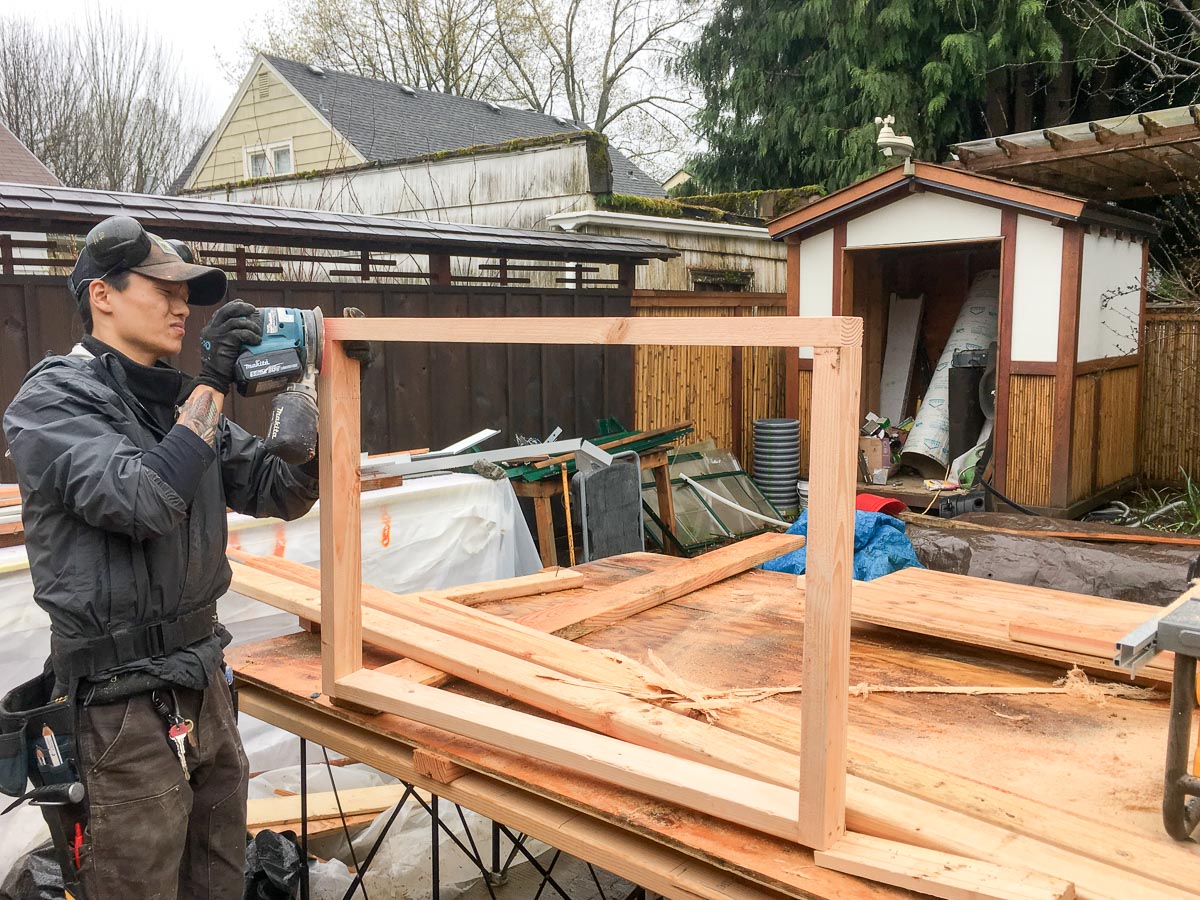
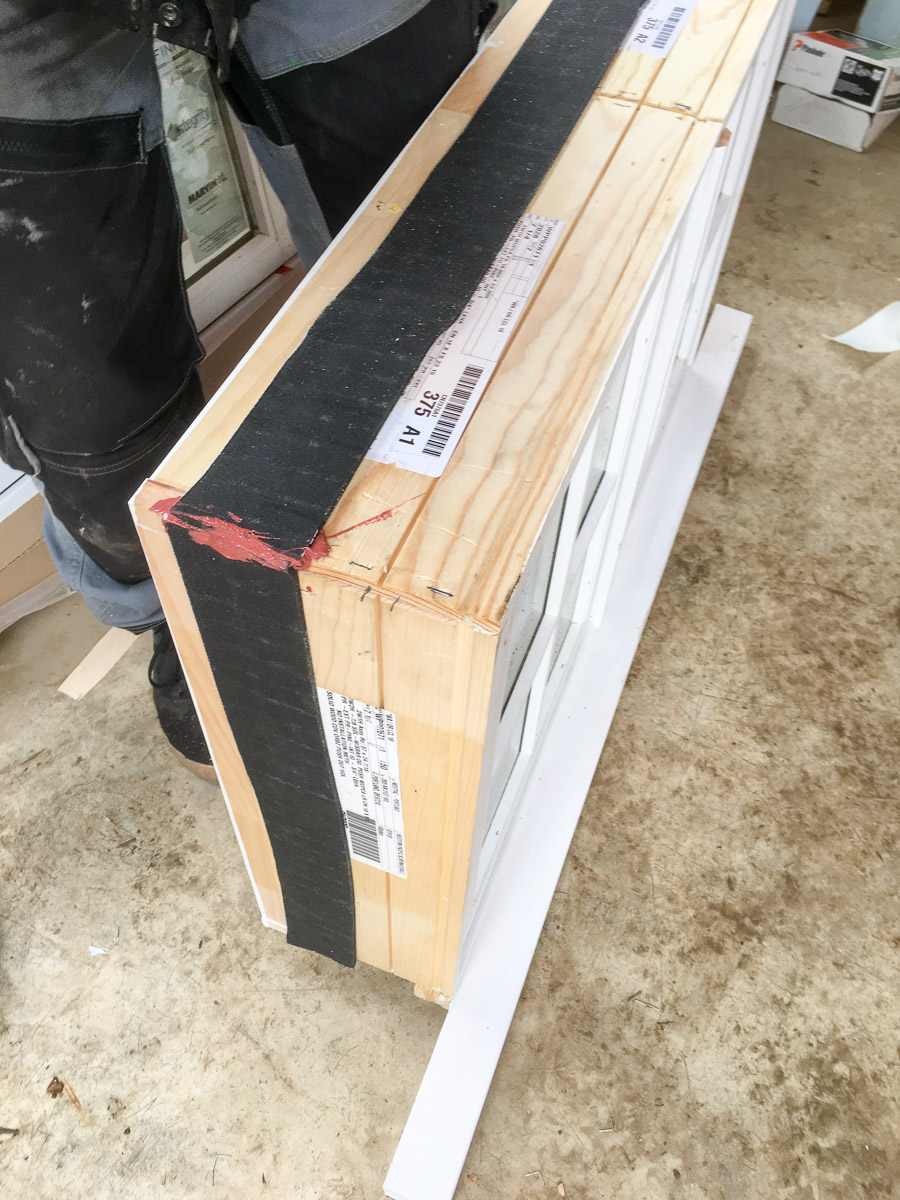
The window and door openings were not framed with bucks to extend out past the exterior insulation layer as I only made the decision between innie/outie windows after the structural framing was complete. So the first task was to build frames to extend out the door and window openings.
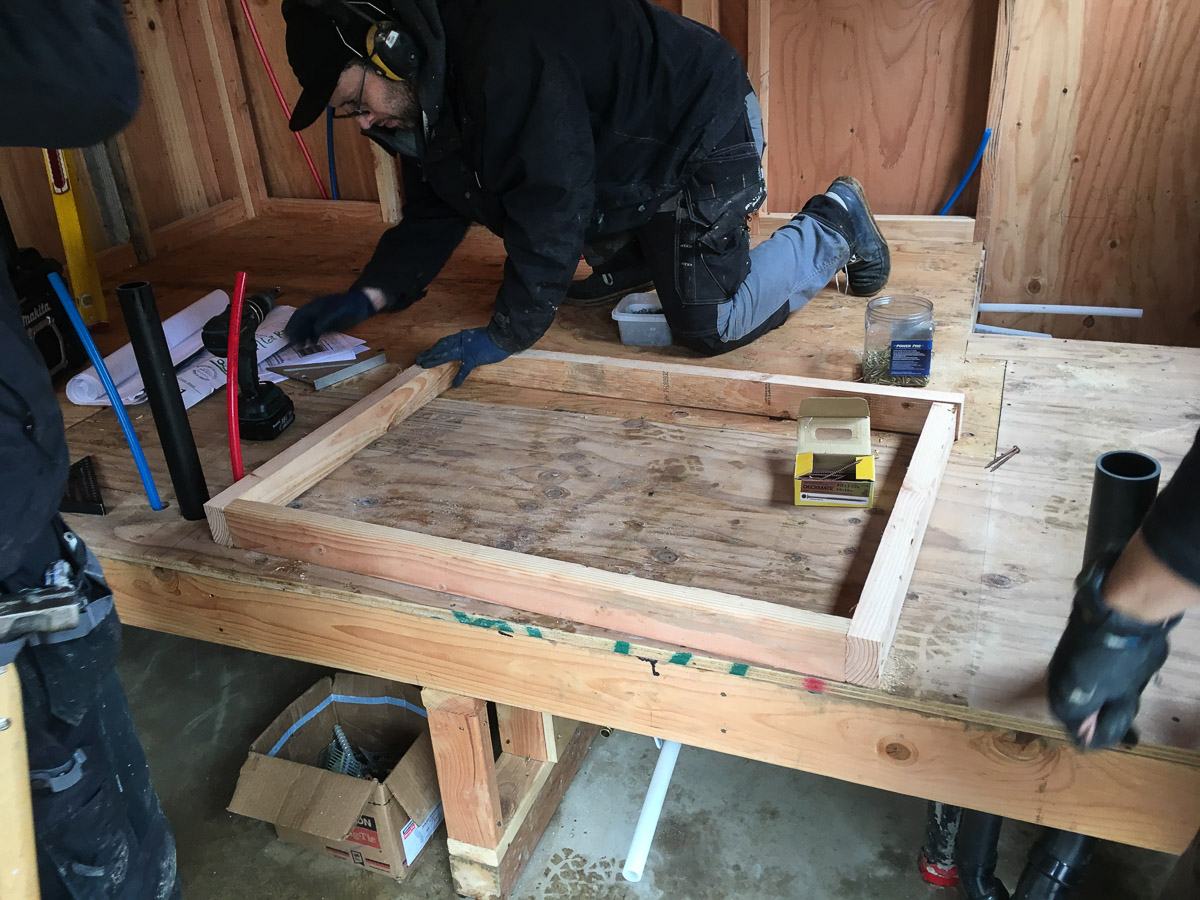
The builder had his crew build the window bucks as a complete frame that was then screwed onto the structure as one piece. This allowed for an easier and higher-quality build than tacking separate pieces of frame directly to the structure.
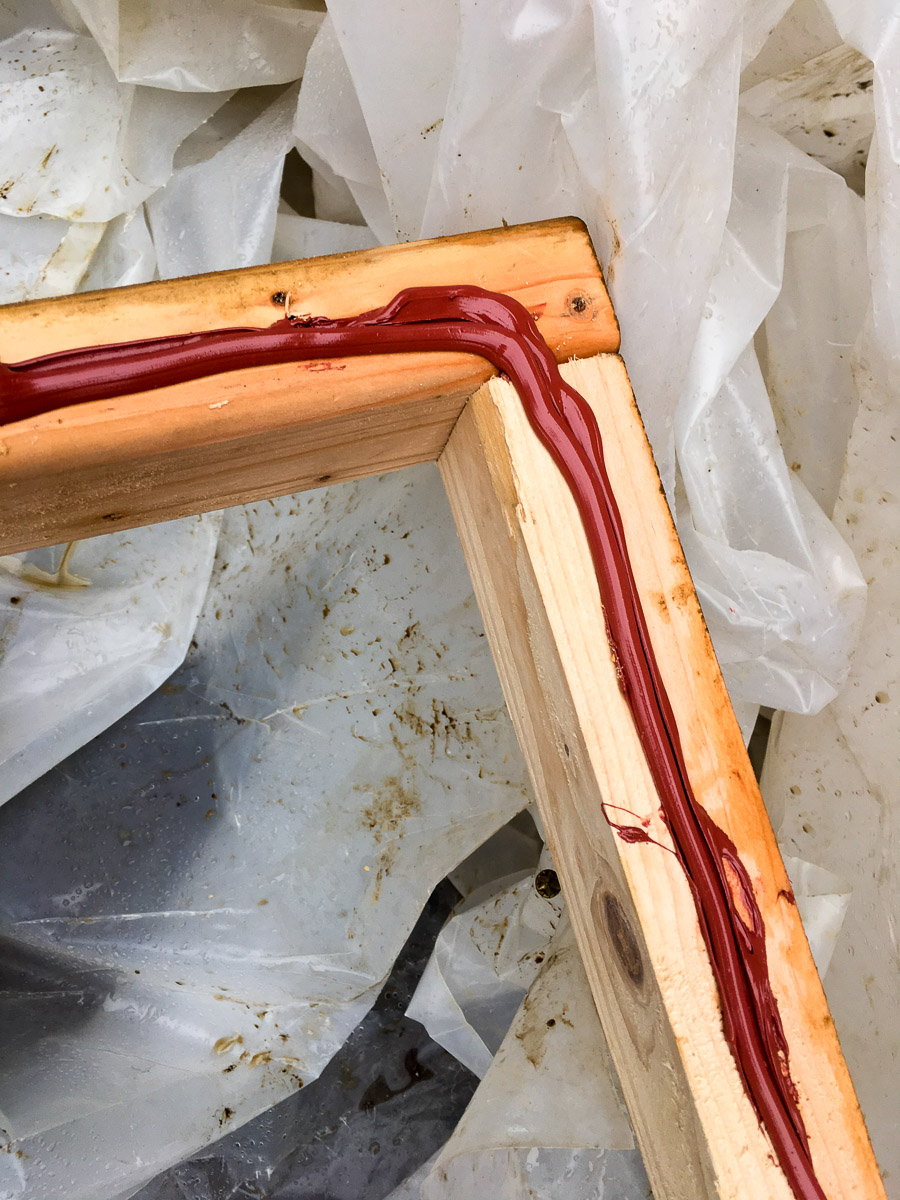
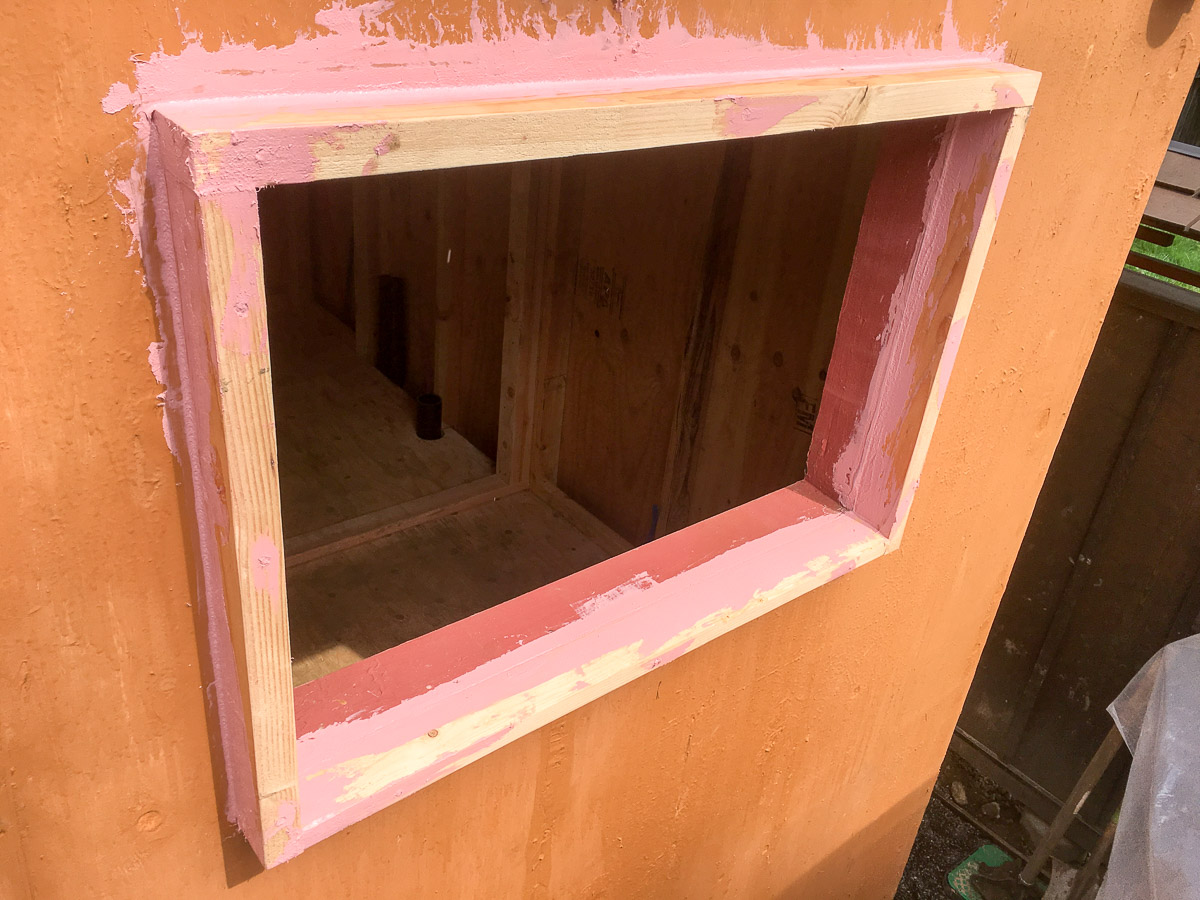
I flashed the bucks to the sheathing using Prosoco Gap and Crack filler and Fast Flash.
Tremco ExoAir Trio
From the Hammer & Hands blogs I picked up on a new system for mounting and sealing windows and doors based around a Tremco product.

ExoAir Trio is a self-expanding joint sealing tape that is used in place of traditional spray-foam sealant to weatherproof windows and doors. It was my the first time to try this technique and the builder hadn’t used it before. We ended up using a combination of traditional shimming , Tremco ExoAir tape, and spray foam to install the windows. Now that I know how it works, I would be able to much more easily use this Tremco product for any future window installs.
Here’s the Hammer & Hand video demonstrating how to set a window using Tremco tape and Shim Screws.
My observation is that this is a significantly easier method for aligning and installing window frames vs traditional methods and that it provides a significantly better weather and air seal than using spray foam.
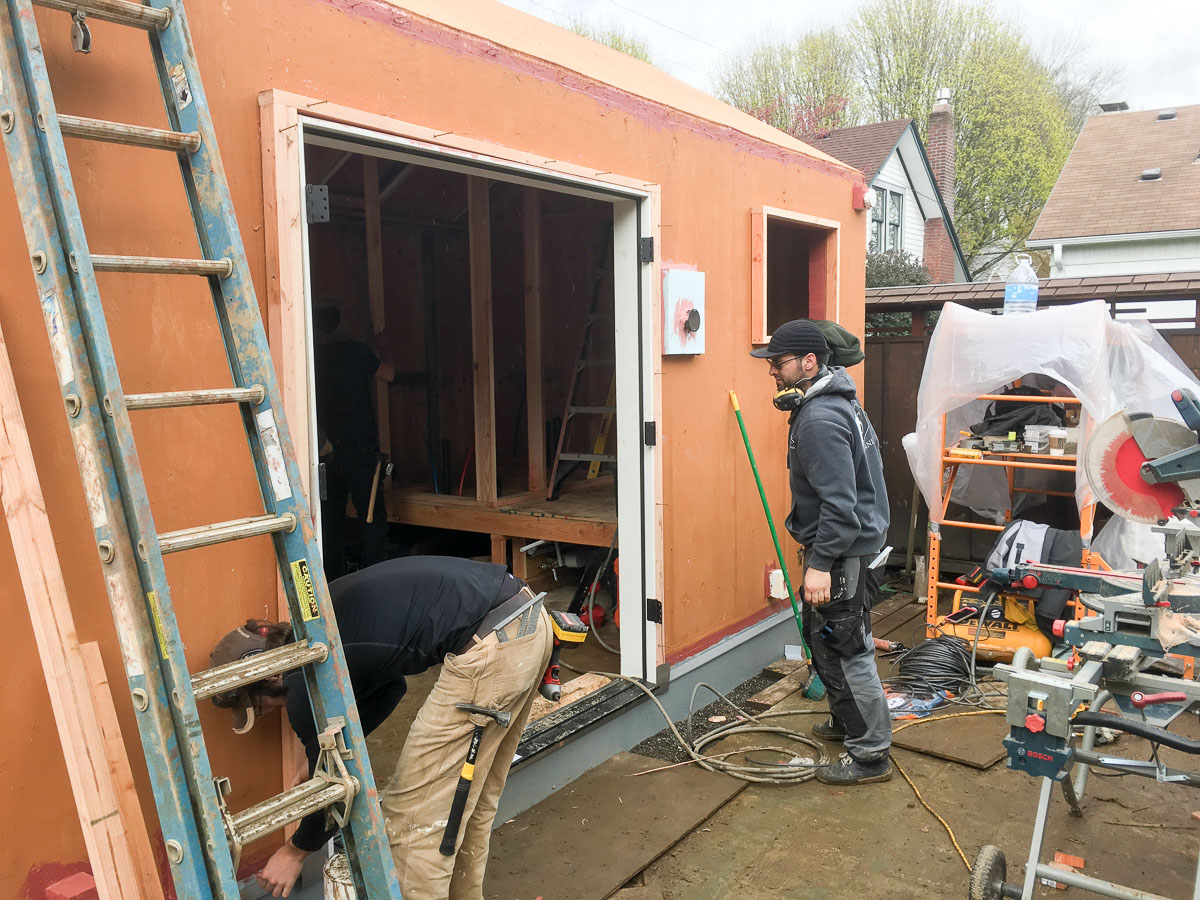
Installation of the living room window


Installation of the doors
The builder recommended a metal sill pan under the door sill and the window guy at Western Pacific agreed. It’s cheap compared to the cost of a door, it’s good insurance against water leaks through onto the floor, and although not required by code in Portland, it’s mandatory in a bunch of other states.


Recommendations
Based on this experience my suggestions are:
- The Tremco tape can be ordered in 3 different thickness, each thickness being rated for a different sized gap between the window frame and the rough-opening: 3/16” – 3/8” gap, 1/4” – 9/16” gap, and 3/8” – 3/4” gap.
I had a range of gap sizes so I went with the smallest thickness tape. As it turned out this was a very tight fit (too tight) around the door, good fit for the small kitchen window and the sides of the large window, and way too small for the bottom and top gaps on the large window.
It only comes in lots of 3 rolls and it’s expense to order a bunch of different sizes for a one-off project like mine.
So my suggestion is when sizing your windows/doors and rough-openings, try to keep the gaps top/bottom/sides consistent so you can use just one variant of Tremco tape.
If you end up with a large gap as I did on the large living room window then you can always use spray-foam after the window is installed to complete the gap sealing. - Don’t shim in the traditional way by pushing shims all the way through the opening. You need to ditch that method completely. It only creates a path for water and air penetration through the frame which is exactly what you are avoiding by using this Tremco product. Also you don’t have time to mess around shimming once the tape is in place and starting to expand. Instead use the shim technique demonstrated in the Hammer & Hand video above where the bottom sill is shimmed part-way through the foam layer only and the shims are set perfectly level before you apply the tape or install the window.
- It’s really important to cut the tape longer than each frame dimension and to bunch up the tape at the ends of the sill as shown in the video. On those corners where I did not cram enough tape into the corner, the tape started pulling back from the corner once it started expanding, This left a couple of corners with a large gap in the expanded foam tape that I then needed to spray-foam to seal.
- Make sure the white side of the tape goes to the interior. It’s a partial vapor barrier and you want to direct any water outwards, not inwards.
- Use shim screws to fasten the window to the framing and to adjust the horizontal left/right position. (You will have already got the vertical top/bottom alignment correct by using the correct thickness shims on the bottom sill before applying the tape.)
- It took over a week for the tape to fully expand and close some of the wider gaps – perhaps due to the cooler weather.
Shim Screws
You can buy Shim Screws from Conservation Technologies:
http://www.conservationtechnology.com/building_shimscrews.html
I chose to drive them flush with the frame surface and leave them exposed as they have an attractive stainless steel head although you could always fill, sand, and paint over.

I still have a few rolls of that same Tremco sealant tape. It gets huge when you unroll it. I use it for my frameless door installations.
LikeLike
I seem to remember it was a cooler time of year – all the same I could feel the clocking ticking during install. Now that I live in Florida I’d think twice about using this product with the higher temperatures here.
The problem for a individual homeowner is that I could only afford to buy one roll. So one size had to fit all. There were some variances in the gaps between different openings so the fit was not ideal on some windows and I had to supplement with spray foam. A builder can afford to keep a bunch of different thicknesses and dial in the fit.
LikeLike
Bill, it looks like you installed your outswing doors directly onto the concrete (after flashing and adding the sill pan). Did you support the door from underneath where it extends beyond the concrete? I’m trying to figure out this detail now and am either going to screw a Pressure Treated board into the concrete or hang it off the side bucks (or perhaps both).
Thanks,
Ryan
LikeLike
It is only supported by the concrete and the framing around the door. So 3-1/2-inches of framing plus 3/4-inch for the sheathing.
The rest of the door frame box and sill plate extend out unsupported. As I glued/fastened rigid foam around the foundation plus exterior rockwool over the sheathing, plus an air-gap, the frame extended out a lot.
Overall it was well supported, particularly as it’s also screwed into the door framing at the sides and the top. I’m not at all worried about this be8ing unstable.
Here’s the finished install. As the door box extended out a lot, the builder added bucks around the sides and top to match the depth of the rockwool plus airgap/
LikeLike
Bill, that’s great to hear!The extra photos are helpful to see as well. I’m definitely going to go with side and top bucks. I might still try to put a small one underneath mine, but that’s awesome yours is sturdy without it. Avoids all the hassle with drilling into the concrete as well.
Thanks!
Ryan
LikeLike