Corner Trim
The corner trim pieces (1-inch dimensional cedar) went on first nailing into the corner strapping.
Beveled Cedar Siding
I used primed beveled cedar siding. This was a major expense coming in around $2,600 for the wood. (Sourced from Parr Lumber)
- I used the Gecko Gauge SA90376 Siding Installation Tool. This facilitates one-person siding installation and also helps ensure the boards go in level.
- I left a 1/8-inch gap between the siding and the corner trim to allow for expansion and contraction. This gap was later filled with latex sealant.
- I put metal flashing behind each butted joint.
- I used Simpson S4SND5 4d Cedar Siding Nails 1-1/2″. These stainless steel nails are more costly than regular hot-dipped or galvanized but are relatively immune to corrosion from the cedar wood resins. I drilled a hole and hand drove the nails to reduce the risk of splitting the boards.


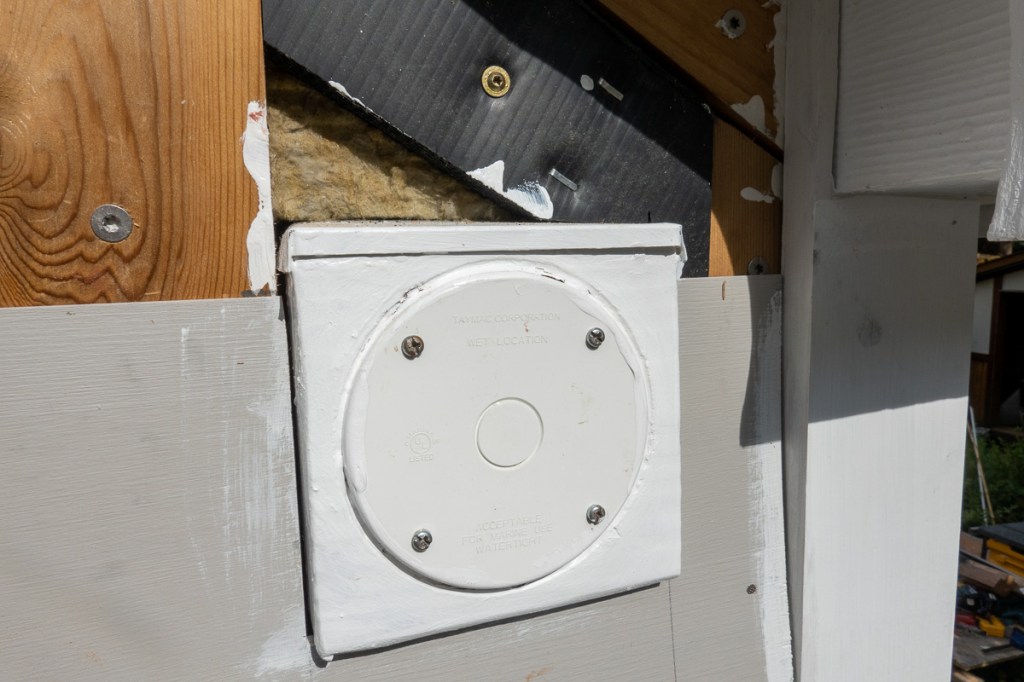
All cut surfaces were primed before installation. In this case I’m fitting the siding around a security camera mounting point.
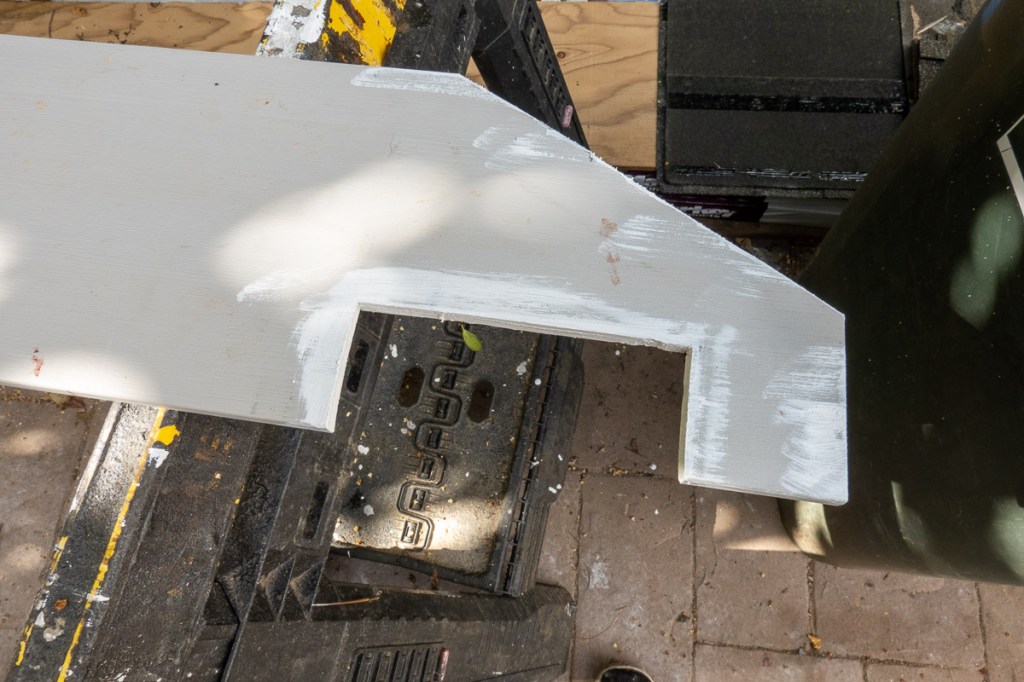

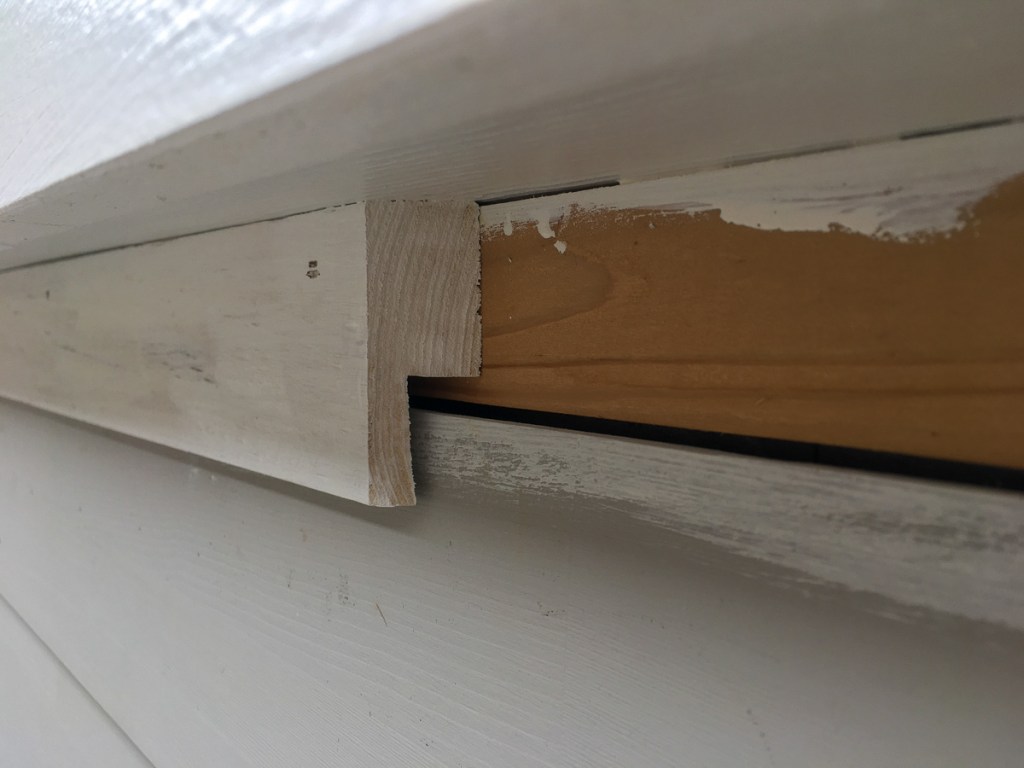
Trimming out the Rainscreen
Above each window and above the door frame there is a ~1/4-inch gap to allow air to move into the rainscreen cavity.
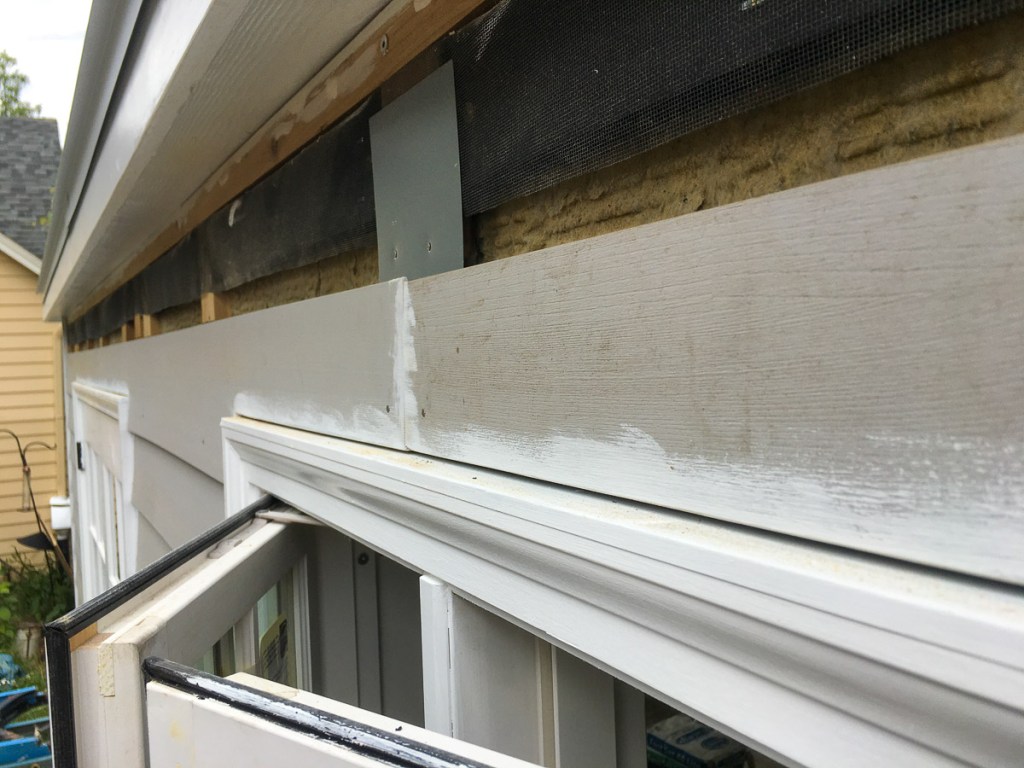
I used a table saw to rip trim piece that go at the top of the wall at the gables and eaves. The 1/4-inch gap allows air to rise up inside the rainscreen cavity and escape out the top. I used insect screen to prevent bug intrusion through this gap.